
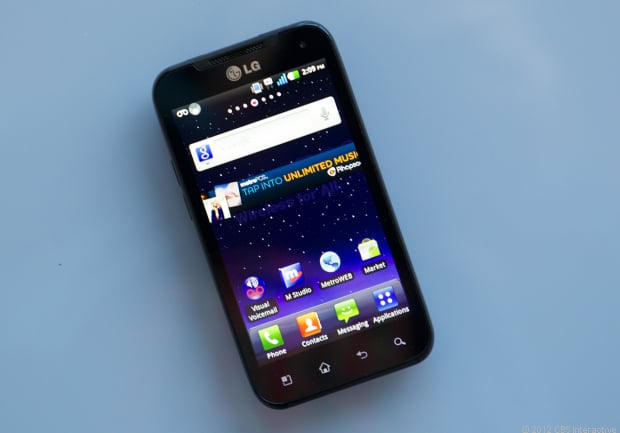
How to Root And Install ClockworkMod the LG Connect 4G
I. Before You Begin:
1. This will void the warranty of your
device. However, you can reinstate the warranty by unrooting the device
if there’s any unrooting procedure available.
2. This works on Windows based PCs only.
3. You should have appropriate drivers
installed on your PC. If you haven’t already done so, drivers are
included in the toolkit.
II. Downloading Required Files:
 1. Download All in One Toolkit
 III. Rooting the LG Connect 4G:
1. Download and place the Toolkit archive on the Desktop of your PC.
2. Extract files from the archive to your Desktop.
3. Turn ON the USB debugging option on your device by going to Menu>>Settings>>Applications>>Developement>>USB debugging.
4. Connect your device to your PC using the USB cable.
5. Double-click on the AIO-LGConnect.bat file you extracted earlier to your Desktop.
6. Select the second option that says Root Only and hit Enter.

Select the Second option
7. Follow the on-screen instructions.
8. And you should be rooted now!
Install ClockworkMod Recovery
ធ្វើដូចការណែនាំតាមលេខIIIខាងលើគ្រាន់តែប្តូរត្រង់លេខ៦ត្រូវរើសយកClockworkModវិញ។
=============================================================
How To Root Xperia Z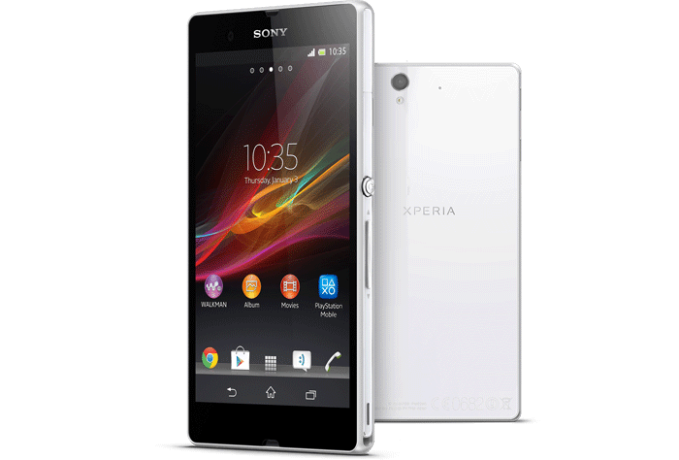
I. Before You Begin:
1. This will void the warranty of your
device. However, you can reinstate the warranty by unrooting the device
if there’s any unrooting procedure available.
2. You must have unlocked bootloader of your device. You can do so from here.
3. This is intended to work on firmware version: 10.1.A.1.350.
II. Downloading Required Files:
1. Modified Kernel (Download link’s available in the first post)
2. Insecure Kernel (Download link’s given in the first post)
3. Fastboot
III. Rooting the Sony Xperia Z:
1. Place all the files you downloaded to your Desktop.
2. Extract files from the Fastboot archive to your Desktop. You’ll get fastboot.exe along with some other files.
3. Plug-in USB cable to your PC but not to your device.
4. Turn OFF your device.
5. Reboot the device into Fastboot mode. To do that, simply hold down the Volume UP button and connect the other-end of the USB cable to your device.
6. Launch a Command Prompt Window on your Desktop. To do so, hold down the Shift button on your keyboard and right-click on any empty area on the screen, then select Open command window here.
7. Type in following command into the Command Prompt Window:
fastboot flash boot Z_DooMLoRD_CF-Auto-Root-ported_FW-350.img
8. Next, issue the following command:
fastboot reboot
9. Your device should boot up and you’ll get a notification on your screen saying that the device will reboot in 10 seconds.
10. Once the device reboots, unplug it from your PC.
11. Now hard power off your device. To do that, hold down the Power button and the Volume UP button for about 15 seconds.
12. Get your device into Fastboot mode by holding down the Volume UP key and plugging-in the USB cable.
13. Open a Command Prompt Window on your Desktop. It’s simple, just hold down the Shift button on your keyboard and right-click on any empty area on the screen, then choose Open command window here.
14. Issue the following command using Command Prompt Window:
fastboot flash boot Z_DooMLoRD_insecure_FW-350.img
15. Once it’s done, issue the following command:
fastboot reboot
16. Once your device boots up, head over to Google Play and download the BusyBox app.
17. You’re rooted now!
Excellent! You now have root access on
your Sony Xperia Z smartphone and you can proceed to Google Play to get
some root-only apps for your device!
=============================================================
How To Root Galaxy Nexus I9250 On Android 4.2.2 Jelly
![How To Root Galaxy Nexus I9250 On Android 4.2.2 Jelly Bean (JDQ39) Official Firmware And Install CWM Recovery [Tutorial]](http://img.ibtimes.com/www/data/images/middle/2013/02/15/344918_galaxy-nexus.jpg)
The Galaxy Nexus smartphone with the model number I9250 started receiving the official Android 4.2.2 Jelly Bean firmware update earlier this week, along with both Nexus 7 and Nexus 10 tablets.
If your Galaxy Nexus has already received the Android 4.2.2 Jelly Bean update as an OTA (over the air) package, you can simply install the new firmware version. In case you are yet to receive any such update, click here for the steps to manually flash your device with the help of the ZIP package from the Internet.
However, if your device is currently running on the new Android 4.2.2 Jelly Bean and you are looking for a root method for it, the tutorial explained below will serve you the best.
As Team Android noted, the rooting process includes ClockworkMod (CWM) Recovery 6.0.2.3 as the custom recovery and SuperSU v1.04 as the rooting package.
Below are the steps to root Android 4.2.2 Jelly Bean on the Galaxy Nexus I9250. But before going ahead, the users must note that although the procedure is a tested one, IBTimes will not be held responsible for anything that goes wrong. The users should proceed at their own risk.
Prerequisites
- The Galaxy Nexus I9250 should be running on Android 4.2.2 JDQ39 firmware. Go to Settings > About phone, and check the existing build number.
- USB drivers for the Galaxy Nexus must be installed properly in the computer. [Download]
- Enable USB debugging mode.
- Backup all your data, apps and settings before you proceed.
- Make a Nandroid backup of your previous phone set up.
- The device must have at least 80 percent of battery power.
In addition, this tutorial is for factory unlocked Android phones. Therefore, it should not be tried on phones that are locked to a carrier.
Steps to Follow
Step 1: Download SuperSU v1.04 (UPDATE-SuperSU-v1.04.zip) for Galaxy Nexus on your PC.
Step 2: Connect and mount the Galaxy Nexus USB memory on your computer using USB cable.
Step 3: Copy and paste the SuperSU v1.04 zip file on your SD card. Ensure that the file is in the SD card root, not in any other folder.
Step 4: Switch off the phone.
Step 5: Download CWM 6.0.2.3 (recovery-clockwork-touch-6.0.2.3-maguro.img) and save it on the android-sdk-windowsplatform-tools directory on the computer.
Step 6: Go into Fastboot/Bootloader Mode on Galaxy Nexus. To do this press the Volume Down and Power keys together for a few seconds till a text appears on the screen.
Step 7: Go to android-sdk-windowsplatform-tools directory and open Command Prompt. Now run the following command:
fastboot flash recovery recovery-clockwork-touch-6.0.2.3-magu
Step 8: Select recovery from fastboot menu and you’ll be taken to the newly-flashed ClockworkMod recovery.
Step 9: In ClockworkMod recovery, scroll down to “flash zip from SD card” and press the power button to select it.
Step 10: Press the Power button again and select “choose zip from sdcard”.
Step 11: Use Volume keys to navigate to UPDATE-SuperSU-v1.04.zip. Select it by using the Power button and flash it.
Step 12: Once flashing is complete, reboot the device by selecting “reboot system now” from the Recovery menu. The first boot may take some time.
=============================================================
Root All Sony 2012 របៀបធ្វើ
=============================================================
How to Unlock bootloader on Xperia U
before do this make sure you thinking it may brick your phone :) but 5% for brick- All you need is:
1. Confirm that it is possible to unlock the boot loader
- Open the dialler and enter *#*#7378423#*#* to access the service menu.
- Service info > Configuration > Rooting Status
- If Bootloader unlock allowed says Yes, then you can continue with the next step. If it says No, or if the status is missing, your device cannot be unlocked.
- Get the IMEI code for ur device: type *#06# in phone dialer.
- Go to: http://
unlockbootloader.sonymobile.com / . - Scroll to the bottom of the page and click “Continue”. Finally you will get a “Create Unlock request” page, enter your IMEI (last digit needs to be removed), name and email address. You should now receive your unique unlock key, its displayed on screen, SAVE THIS KEY SAFELY.
- Open Flashtool then connect your phone with USB cable and now click on tap plugin /bootloader/Run
- Unplug your phone from USB and hold volume down connect with your USB then the Box that ask you to put KEY into is then you need to put key code that you take from http://
unlockbootloader.sonymobile.com / to that Box - unplug your phone Again from USB then hold your Volume up and connect it with USB and click on unlock on that Box now wait till it done .សំណាងល្អណា។
=============================================================
Flash Tool 0.9.9

Download Here (Windows)
Download Here (Linux)
Download Here (Mac OS)
To make your galaxy note running battery long life please follow step below:
First: download speedmod : https://www.box.com/s/c1afad4f6c6cd59082fd
1.copy speedmod ទៅ internal SD card
2.ដំឡើង speedmod តាម CWM:ដោយចុច Home button +Power button+ volume Up button ស្របពេលតែមួយអោយជាប់ បន្ទាប់មកយើងនឹងឃើញ CWM-based ប្រើ volume up និង volume down ធ្វើការរំកិល.
3.-install zip from SD card > choose zip from internal SD card ស្វែងរក speedmod ដែលអ្នកបានCopyទុក ហើយ install the speedmod>reboot system .
*SpeedMod core features are:*
- Super stable: No undervolting, overclocking or potentially unstable modifications
- Fast and smooth: Compiler and code optimizations
- Excellent battery life: Remove unecessary logging and debugging
**Galaxy Note**
*****DO NOT FLASH OR WIPE USING ANY ICS REPACK*****
=============================================================
Make your Galaxy Note battery long life for ICS only
To make your galaxy note running battery long life please follow step below:
First: download speedmod : https://www.box.com/s/c1afad4f6c6cd59082fd
1.copy speedmod ទៅ internal SD card
2.ដំឡើង speedmod តាម CWM:ដោយចុច Home button +Power button+ volume Up button ស្របពេលតែមួយអោយជាប់ បន្ទាប់មកយើងនឹងឃើញ CWM-based ប្រើ volume up និង volume down ធ្វើការរំកិល.
3.-install zip from SD card > choose zip from internal SD card ស្វែងរក speedmod ដែលអ្នកបានCopyទុក ហើយ install the speedmod>reboot system .
*SpeedMod core features are:*
- Super stable: No undervolting, overclocking or potentially unstable modifications
- Fast and smooth: Compiler and code optimizations
- Excellent battery life: Remove unecessary logging and debugging
**Galaxy Note**
*****DO NOT FLASH OR WIPE USING ANY ICS REPACK*****

